Why RFID Implementation Needs Careful Planning
Many businesses fail not because the RFID technology is poor, but because the implementation is unstructured. Installing readers in random locations, printing tags without a proper encoding procedure, or failing to integrate with the ERP all lead to messy data and disappointing results.
This guide explains the right way to implement RFID, from zero to a fully operational system.
Step 1: Assessment and Planning (1 to 2 Weeks)
Before purchasing a single piece of hardware, conduct a thorough assessment.
List Your Requirements
- How many SKUs need to be tracked? Under 1,000? Hundreds of thousands?
- How fast does inventory turn over? Slow (timber, building materials) or fast (fashion, pharmaceuticals)?
- What materials are being tracked? Metal and liquids affect tag selection
- What is the total warehouse area? This determines how many readers are needed and where
Define Priority Use Cases
Start with the most painful problems:
- Automated stock counting
- Inbound receiving without manual data entry
- Outbound verification at the gate
- Finding items that are hard to locate
Choose Your Approach: Pilot or Full Rollout
If this is your first RFID project, pilot in one zone first. Choose an area that:
- Has moderate volume (not too large, not too small)
- Has fairly uniform item materials
- Has measurable outcomes (for example, an area that is audited frequently)
Step 2: Choosing the Right Hardware
RFID Tags: Match to Material
| Item Type | Recommended Tag |
|---|---|
| Cardboard / cartons | Standard UHF sticker tag |
| Wooden pallets | UHF hard pallet tag |
| Metal items | On-metal tag (specialized) |
| Jewelry / small items | Compact tag with loop |
| Reusable items (pallets, containers) | Hard reusable tag |
For textiles, pharmaceuticals, and standard non-metal items, a standard UHF sticker tag is sufficient.
RFID Readers: Match to Operations
- Handheld scanner: Essential. Used for mobile stock counts, item search, and cycle counts
- Desktop USB reader: For encoding new tags at a desk, and for checking items in and out at the office
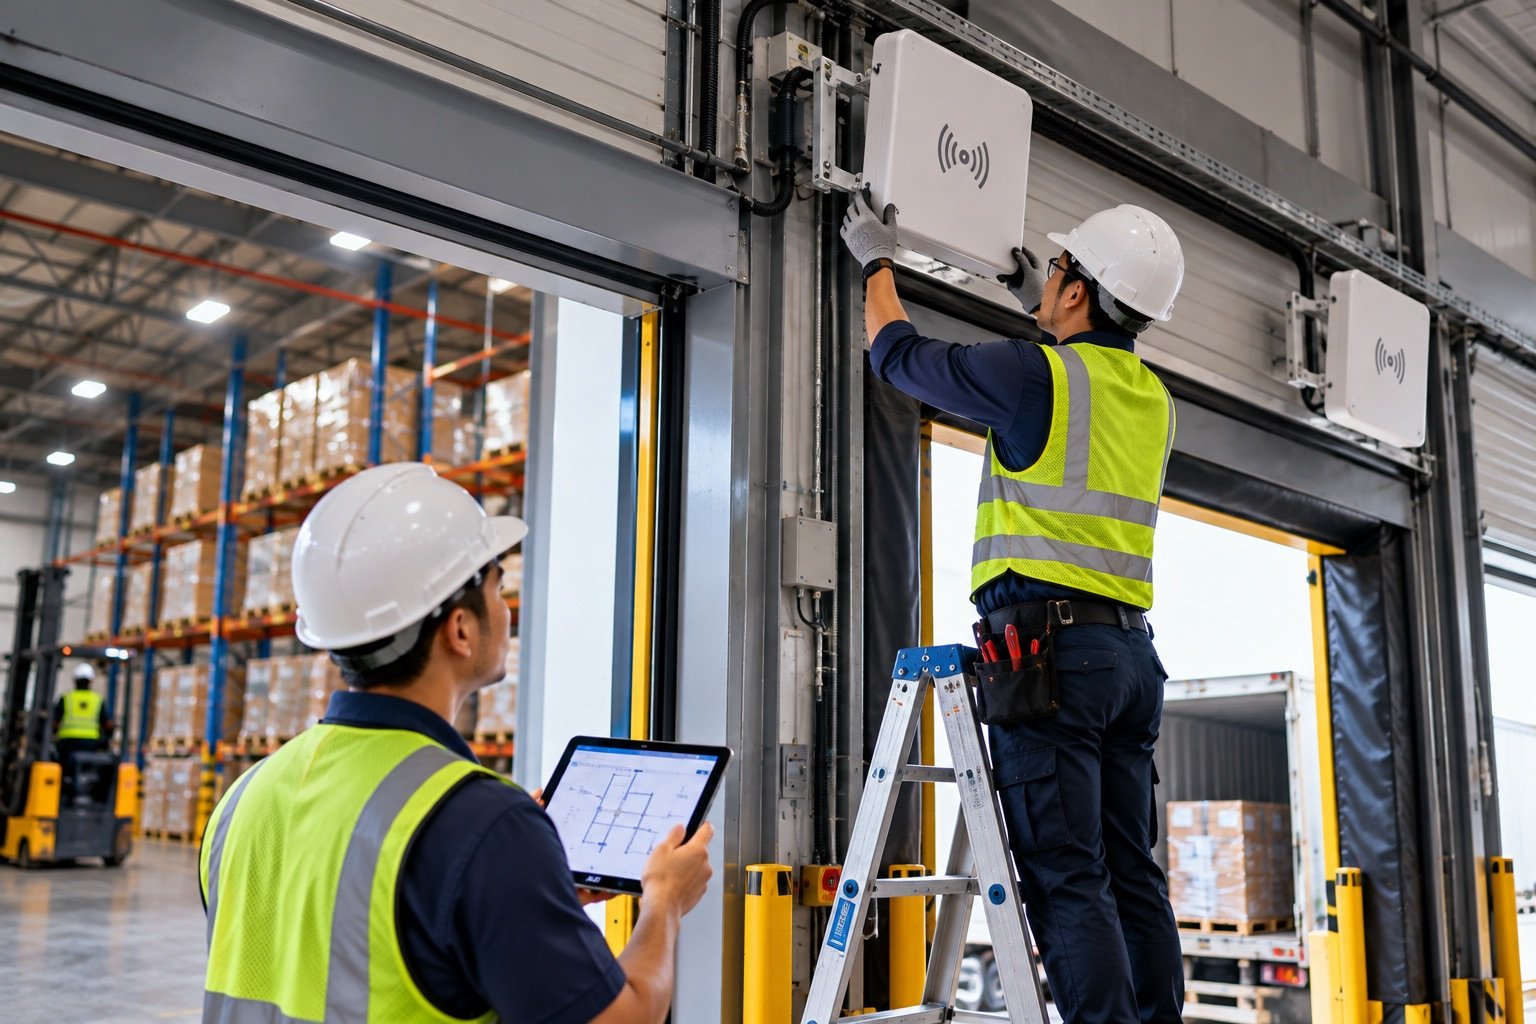
- Fixed reader: Optional but transformative for gate automation (automatic inbound and outbound recording)
Tip: Start Small
Begin with one handheld scanner plus enough tags for the items in your pilot zone. Fixed readers can be added after a successful pilot.
Step 3: Encoding and Tagging (1 Week)
This step is often underestimated and becomes the main bottleneck.
Define Your EPC Naming Convention
EPC (Electronic Product Code) is the unique ID on each tag. A common format:
[Company Code] + [SKU Code] + [Serial Number]
Example: KATALYST-WOOD-PLY-000001
Critical: Use one consistent convention from day one. Changing it midway through the project means massive rework.
Encoding and Labeling Process
- Print tags on an RFID label printer (ZPL), with the EPC encoded at print time
- Each tag already contains the SKU information and a unique serial number
- Affix tags in a consistent position (for example, the top left corner of every item)
- Scan with a handheld to confirm that each tag reads correctly
How Long Does Tagging Take?
Approximately 5 to 10 seconds per item (encode, print, and affix). For 5,000 items, that is roughly 7 to 14 hours of labor, which can be split across several people working in parallel.
Step 4: Software Configuration and Integration
Setting Up the Katalyst Platform
- Import all SKUs into the database (Excel import is supported)
- Define warehouse zones and areas (e.g., Area A, Area B, Outbound Gate)
- Set up user accounts for each role (admin, warehouse operator, supervisor)
- Configure fixed readers (if installed) and assign each one to the appropriate zone
ERP Integration (Optional but Recommended)
If you use Odoo, SAP, or another ERP, a compatible API integration can:
- Send stock updates from Katalyst to the ERP after scans
- Support purchase order workflows for inbound receiving
- Reduce duplicate data entry
Katalyst provides a REST API. Odoo connectivity, setup scope, and timing should be confirmed with your IT team or implementation partner after reviewing system versions and workflows.
Step 5: Training the Team
Training is not an afterthought; it is what separates success from failure.
Who Needs to Be Trained
- Warehouse operators: How to use the handheld scanner, the audit module, and inbound and outbound workflows
- Supervisors: Monitoring dashboards, reports, and user management
- Admin/IT: Backup procedures, troubleshooting, and user management
Effective Training Format
Don't rely on theory alone. Practice directly in the warehouse with real items:
- Demo by the implementation team (30 minutes)
- Operators try it themselves with guidance (1 hour)
- Simulate real scenarios: receiving goods, performing an audit, searching for an item
- Q&A and troubleshooting
Katalyst provides onsite training plus SOPs and a user manual in Indonesian and English.
Step 6: Go-Live and Monitoring
Gradual Go-Live (Recommended)
Don't switch from your old system to RFID overnight. Run both in parallel:
- Weeks 1 to 2: Run RFID alongside the old system and compare results
- Weeks 3 to 4: Make RFID the primary system, and keep the old system as a verification backup
- Month 2: Go fully live and retire the old system
KPIs to Monitor
- Stock count time before vs. after
- Number of "not found" items resolved
- Accuracy of physical stock vs. system records
- Inbound and outbound processing time
Total Implementation Timeline
The ranges below are planning examples, not a delivery commitment. Actual timing depends on the assessment, data readiness, equipment, and integration requirements.
| Phase | Duration |
|---|---|
| Assessment & Planning | 1 to 2 weeks |
| Hardware procurement | 1 to 2 weeks (depends on stock) |
| Encoding & Tagging | 1 to 2 weeks (depends on SKU volume) |
| Software setup & integration | 2 to 3 days |
| Training | 1 to 2 days |
| Parallel run | 2 to 4 weeks |
| Total, including the parallel run | 6 to 10 weeks |
Set the go-live and parallel run schedule after assessment and on-site process validation.
Conclusion
A successful RFID implementation comes down to structured planning and execution, not just buying hardware and plugging it in. Follow the steps above, start with a small pilot, and scale up once the results are proven.
Katalyst Technology can support you at every stage: assessment, hardware, software, integration, and training. Schedule a free consultation.